Purpose and Scope
Batteries play a crucial role in providing an uninterrupted DC supply for protection relays,
communications, and plant trip/close circuits. Common battery bank voltages include 24V, 32V,
48V,
and 110V. To prevent unexpected failures and ensure reliability, batteries must be tested both
during pre-commissioning and at regular intervals thereafter. Initial testing should occur prior
to
commissioning, followed by a test after 2 years. Subsequently, an internal resistance test is
recommended annually, with a discharge test every 5 years. If a discharge test indicates that
the
battery is nearing the end of its life, annual testing is advised.
Australian Standards applicable to batteries
- AS 4086.2-1997 Battery Maintenance
- IEEE 450-2010 Recommended Practice for Maintenance, Testing and Replacement of Vented Lead-Acid
Batteries for Stationary Applications
Recommended documents
- Relevant Schematic Drawings
- Layout Drawings
- Relevant SWMS
- Material Safety Data Sheet (MSDS)
- Test Equipment Manuals
Other documentation
- Manufacturers Manuals and Manufacturer’s Drawings where required
- Test Equipment Manuals
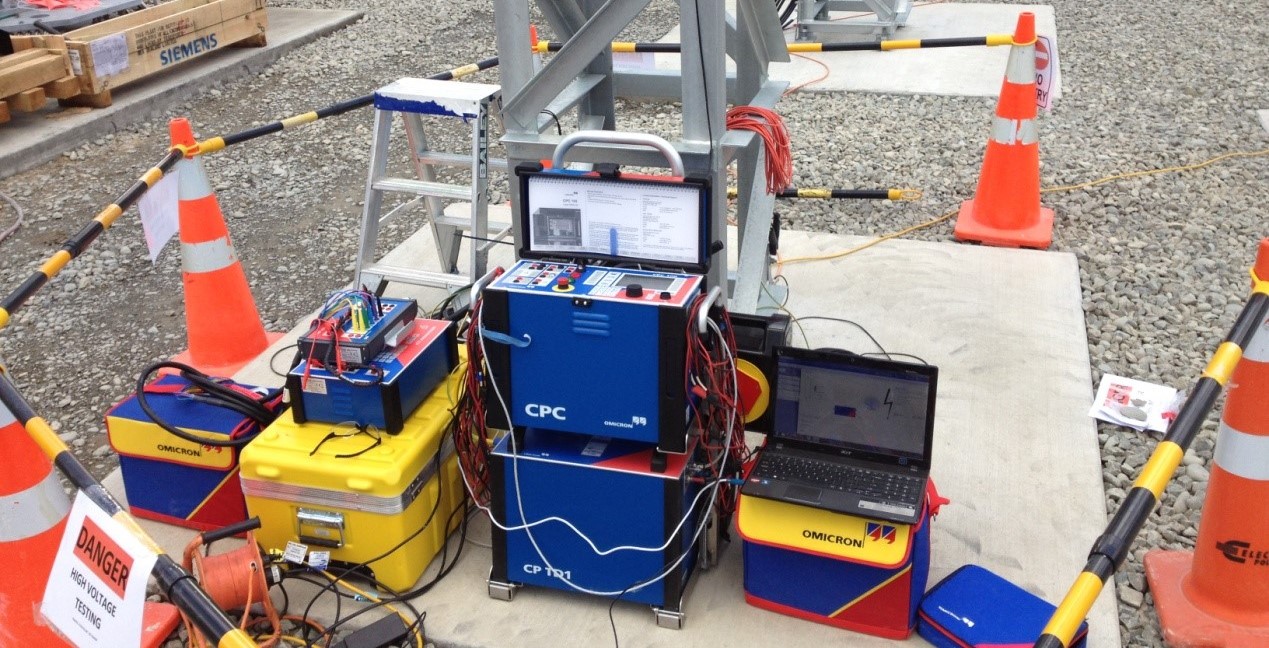
Specialized test equipment that may be required
- Multimeter
- Battery Impedance Tester – Hioki 3554
- Battery Discharge Tester – Megger Torkel 930, Torkel 950 or DV Power BLU200
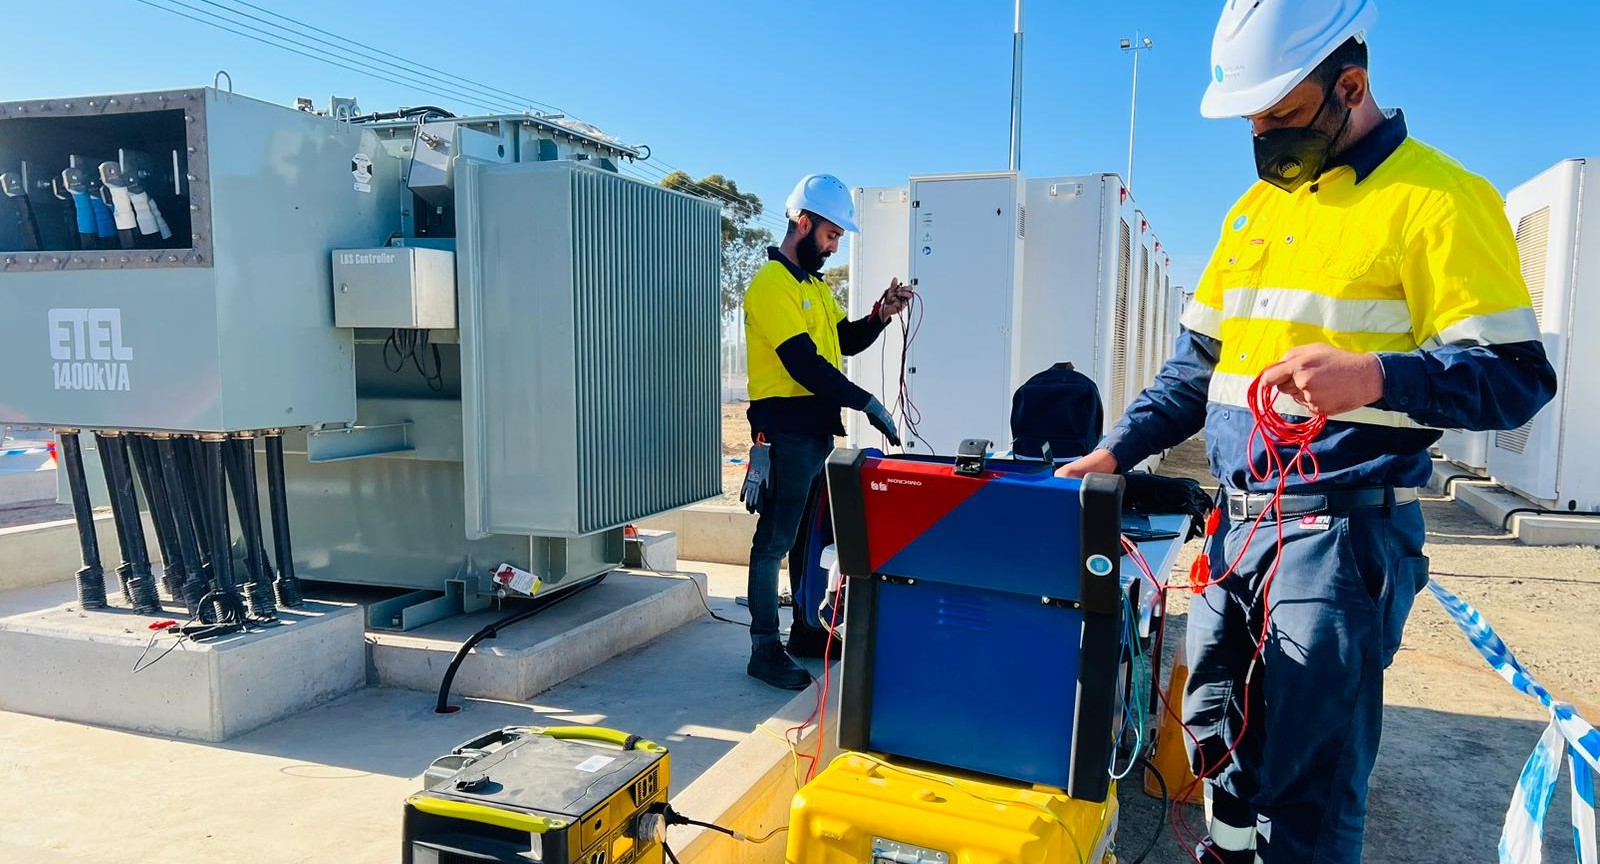
Safety Notes for Battery System Work
When working with battery systems, adhering to safety protocols is essential to prevent
hazards and ensure
proper handling. Follow these guidelines to maintain a safe working environment and protect both
personnel
and equipment.
- Hazard Assessment: Identify and assess any hazards associated with the worksite prior to
commencing activities. Implement and document appropriate control measures.
- Manufacturer’s Instructions: Always adhere to the manufacturer’s guidelines for battery
operation
and maintenance.
- Ventilation: Operate batteries in cool, well-ventilated areas. If a ventilation fan is
available,
run it for 30 minutes before starting work.
- Tool Safety: Minimize short circuit risks by using insulated tools when working with battery
terminals.
- Hot Work Precautions: If performing hot work near batteries, create a nitrogen barrier
between
the batteries and the atmosphere. This can be achieved by covering the batteries with a fire blanket
and
injecting nitrogen underneath.
Information to be recorded
- Battery Manufacturer
- Battery Model Number
- Battery Voltage
- Battery Rating AH
- Charger Details
Work procedure
Plant inspection
Inspect the batteries for any sign of damage such as corrosion, warping, residue on
external surface and terminal lifting.
Inspect external surfaces and ensure clean and dry.
Inspect mounting frame for any damage, corrosion or deterioration
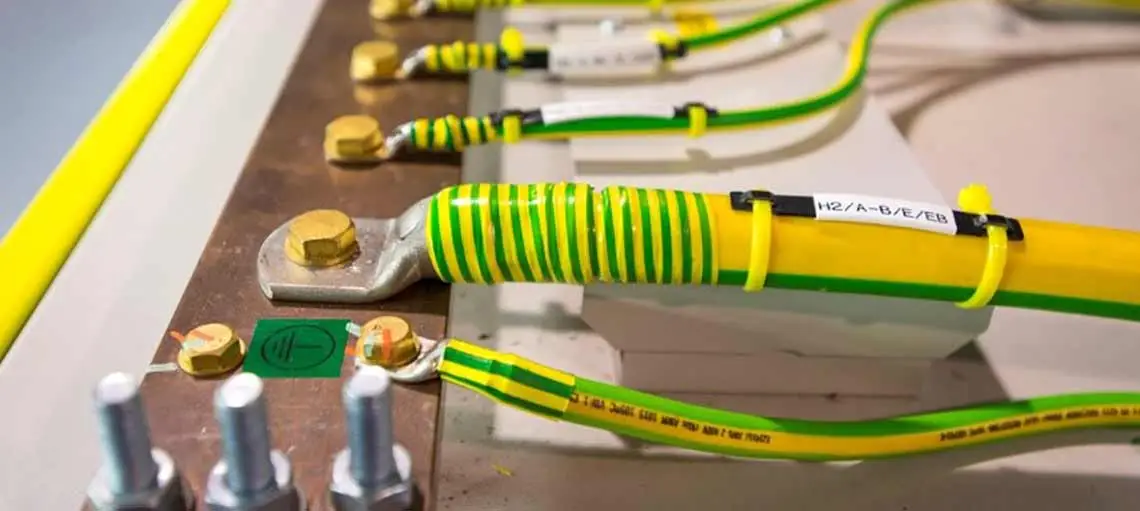
Check all connections for adequate labelling. The connections should be unambiguous,
legible and adequately marked.
When commissioning, ensure the installed batteries match the design specifications.
Note for Brownfield Sites
When performing maintenance on brownfield sites, remember that isolating the charger
might
disable the protective tripping system. Therefore, it is advisable to conduct tests with equipment loads
turned off and minimize the time required for testing. Utilize a temporary battery bank or switch to an
existing secondary battery bank if available.
Pre-test checklist
Record all details as required and include charging current and voltage. If possible,
check
to see that each battery is the same model and note any variances.
Record battery bank voltage and individual battery voltages before testing commences
Impedance Tests
Internal impedance measurement of each battery is crucial, as it correlates with
voltage
decay over time. Compare the measured impedance with the internal resistance value provided by the
manufacturer for a new battery. A battery should be replaced if its measured resistance is more than
twice
the manufacturer’s specified value.
Use a Hioki 3554 for internal resistance testing, the following instructions are for
using
this particular instrument.
- Set the appropriate resistance and voltage measuring range
- Use the zero adjustment feature for accurate readings
- Make sure the polarity of the leads are correct when testing
Refer to the manufacturers’ manual for more detailed instructions, or if using a test
unit
other than the Hioki 3554. Record results on an appropriate form.
Discharge Tests
Perform a discharge test according to the battery bank’s rated ampere-hour capacity.
Record
the load used, the duration of the test, and the final voltage of each battery. The manufacturer should
specify the acceptable voltage post-discharge. If not available, use 75% of the rated battery voltage as
a
guideline.
Example Table: The table below, provided by a manufacturer, outlines the ampere
rating over time until the cell reaches the end voltage. This is a sample only, and you should obtain
the
specific capacity rating for the battery being tested.
| End
Volt.
/Cell
|
Model
|
8 h Ah
Ratings
|
Nominal rates at 25 ° C (77° F)
Amperes (including connector voltage drop)
|
| 1h |
2h |
3h |
4h |
5h |
6h |
8h |
10h |
|
1.75 |
DCU/DU-9 |
100 |
52 |
34 |
26 |
21 |
18 |
15 |
12 |
10 |
| DCU-DU-11 |
120 |
66 |
41 |
30 |
25 |
21 |
18 |
15 |
13 |
| DCU/DU-13 |
150 |
78 |
50 |
38 |
31 |
27 |
23 |
19 |
16 |
Isolate the battery bank and set up a variable load across the battery bank terminals,
with
a voltmeter and ammeter. This will typically be in the form of a battery discharge unit such as a
Torkel.
The load needs to be varied to maintain a constant current as per the manufacturers’ specs/nominal
current.
For example, if testing a DCU/DU-9 for 5 hours, maintain an 18A load for the duration
of
the test.
- Once the load is connected, start timing and continue to maintain the required current.
- Record the start battery voltage. Take 3-5 voltage measurements during the test and record the end
voltage.
- Any Battery cells that display a reduced voltage before the end of the test can be considered to
have a
reduced capacity and may need replacement.
- Disconnect test equipment and return the battery bank to normal condition with all connections
remade.
- Turn the battery charger on and note if the charger goes into boost mode. This is a functional
operation check when batteries discharge below a specified level. Allow the charger to return the
battery to float charge as per manufacturers’ specifications.
Post-Test Checklist
Ensuring safety during and after battery system testing is crucial for maintaining
operational integrity and preventing accidents. The following safety notes will guide you through the
essential post-test procedures to ensure a safe and effective battery maintenance process.
- Record Keeping: Document both the battery bank and individual cell voltages as they are left.
- Terminal Inspection: Ensure battery terminals are tight, but avoid overtightening.
- Charger Status: Confirm that the battery charger is online and charging.
- Cleanup: Verify that all tools and equipment have been removed from the work area.
Complete pre-commissioning checklist
- Ensure test sheet filled out, signed and outline any action items.
- Ensure connections are snug, and battery bank is free of tools.
- Ensure battery charger is switched on.
- Final visual inspection.
- Note any batteries that have failed test.
- Note recommended date of next test.
By following these guidelines, you can ensure effective and safe battery system
testing,
contributing to the reliable operation of your electrical systems.